Main Components
1. What's in the box
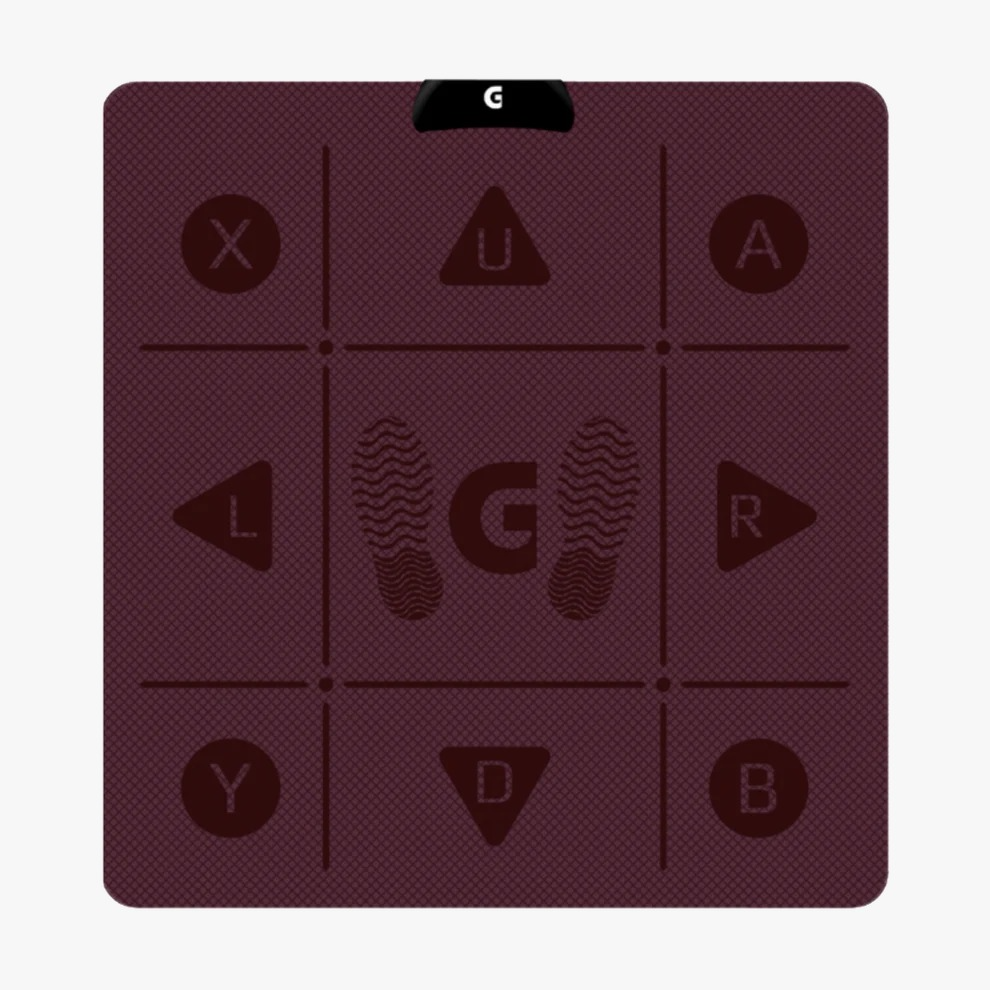
- GAMR Play Pad
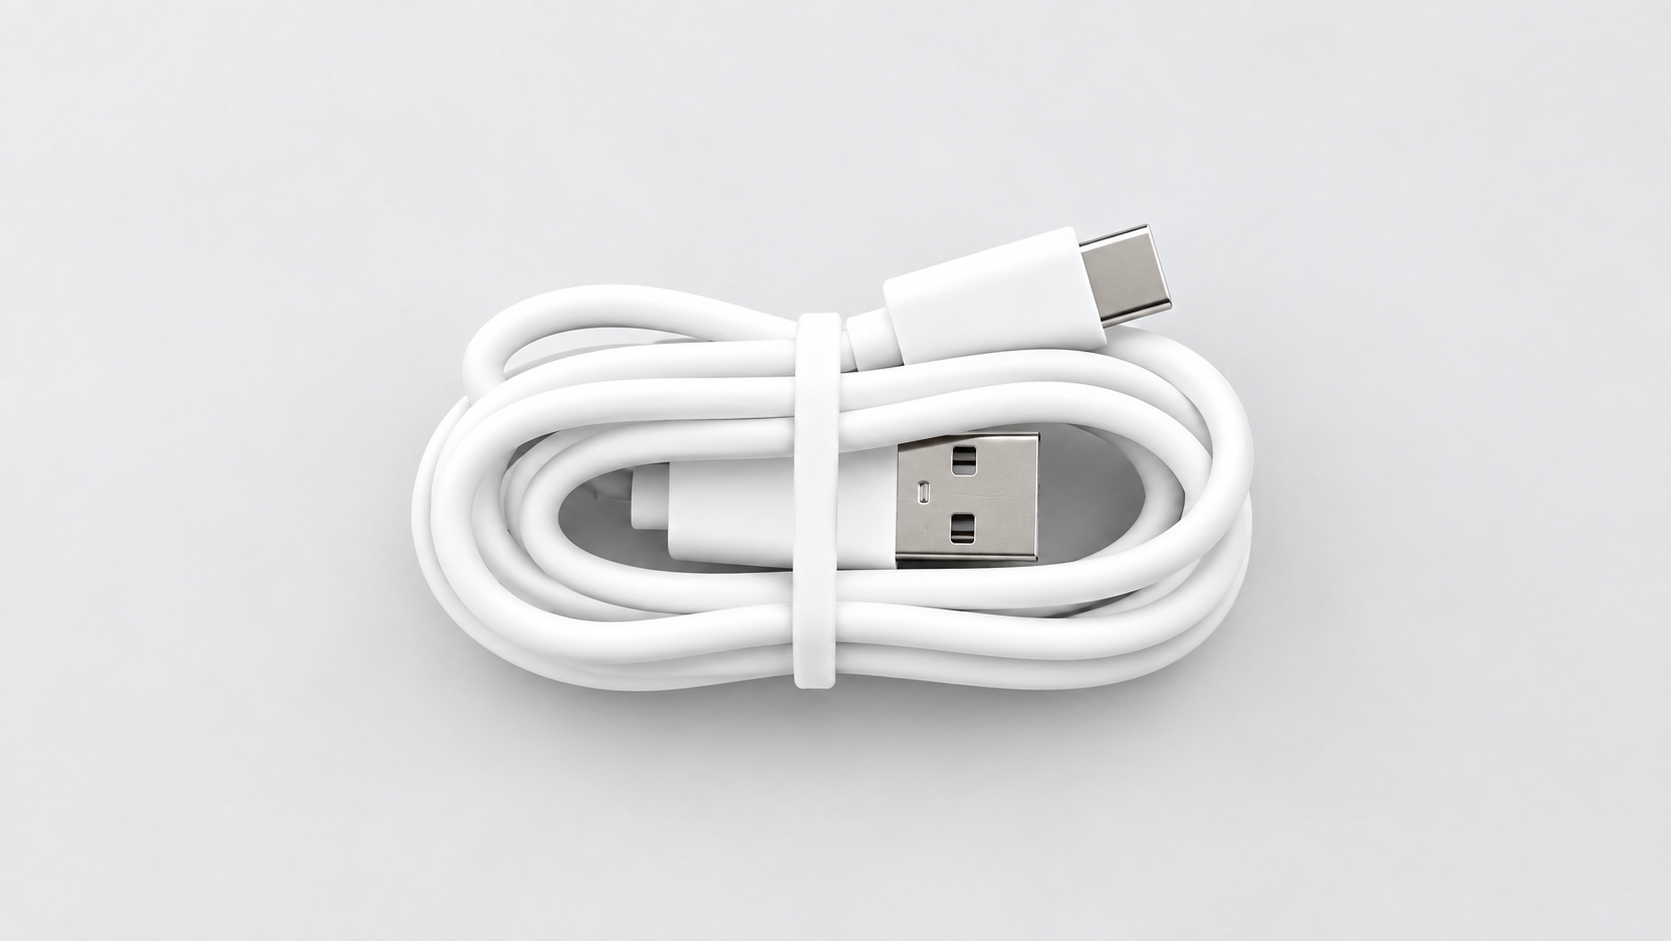
- USB-C to USB-A cable
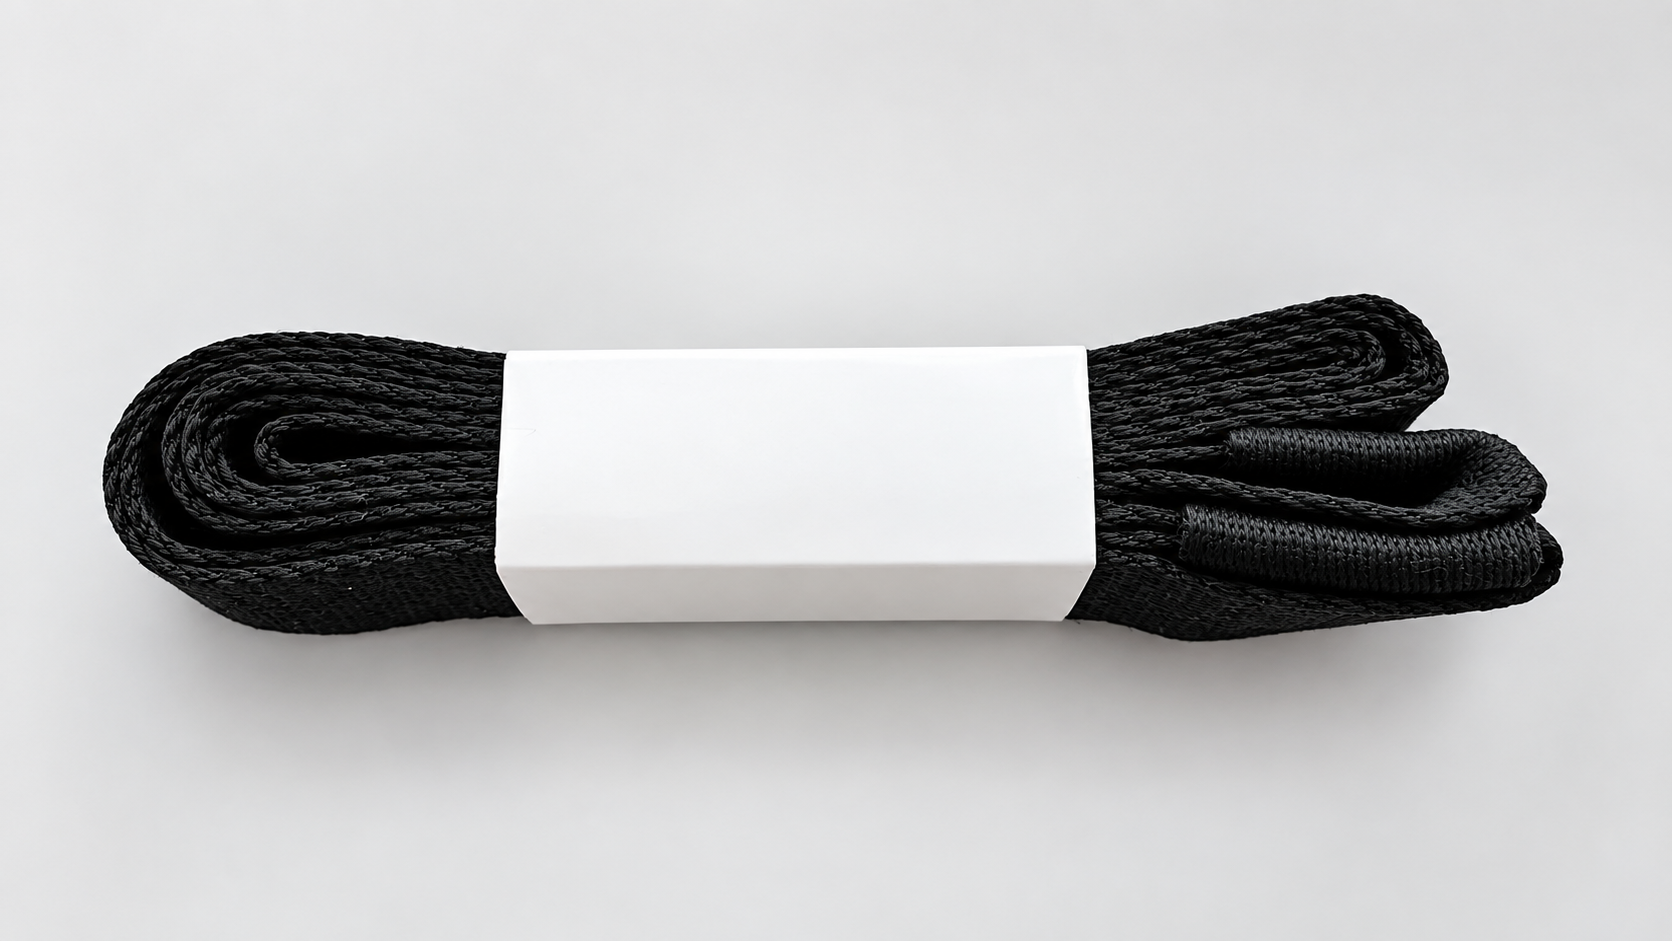
- Carry Strap
2. Get to know your GAMR Play Pad
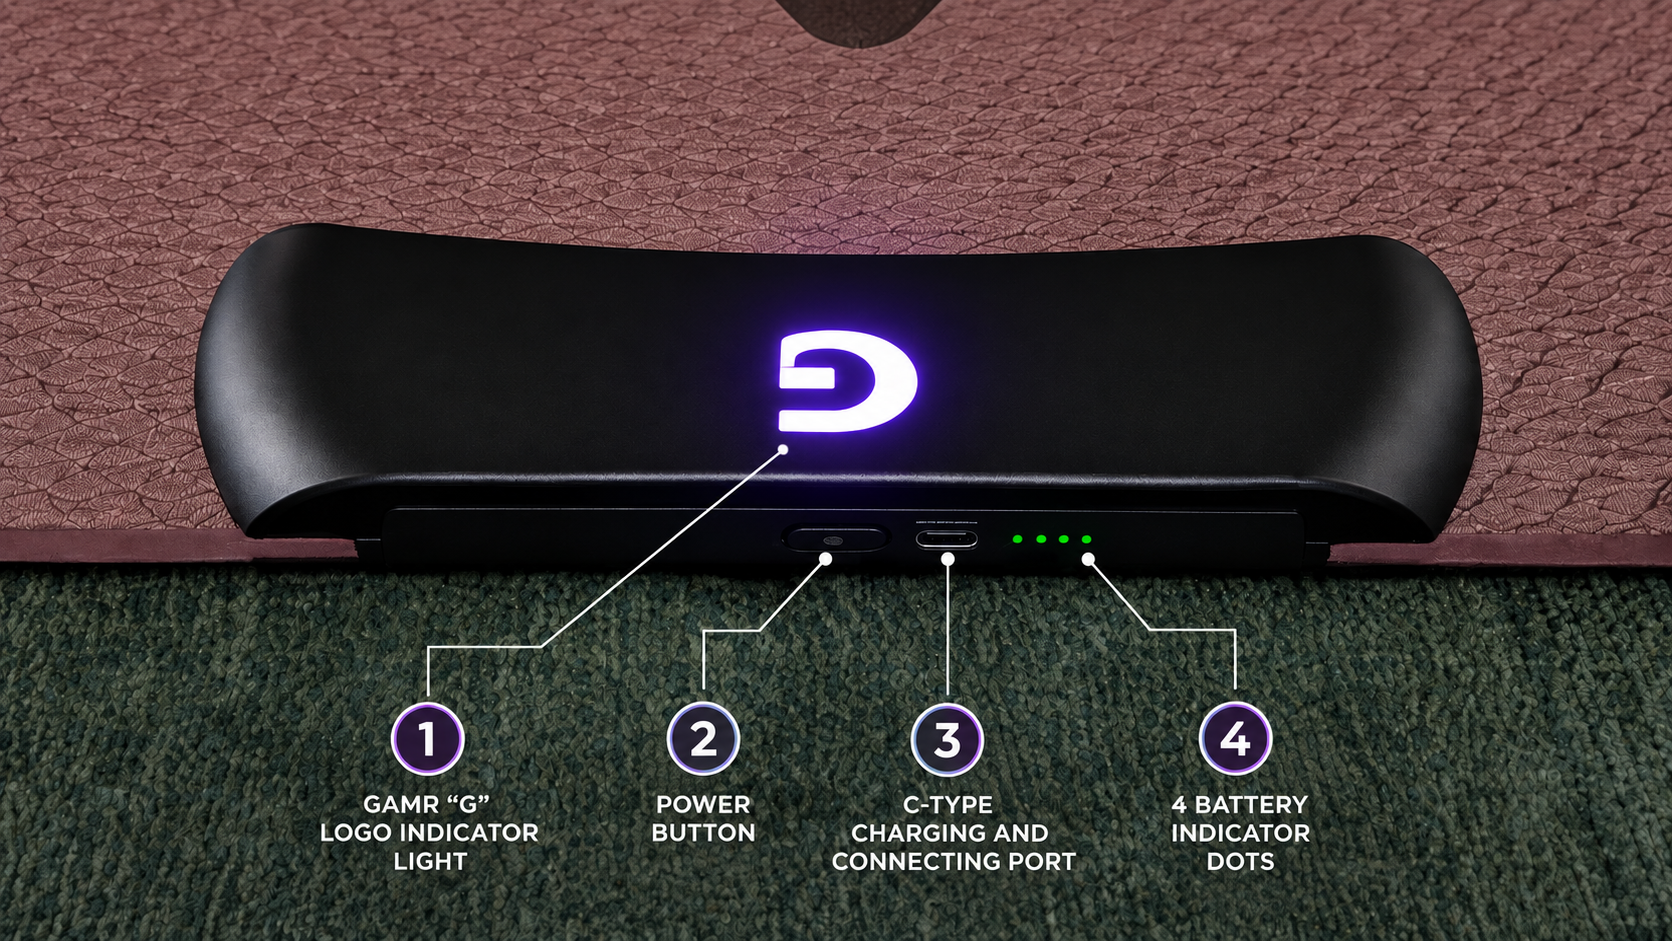
- GAMR "G" logo indicator light
- One Power button
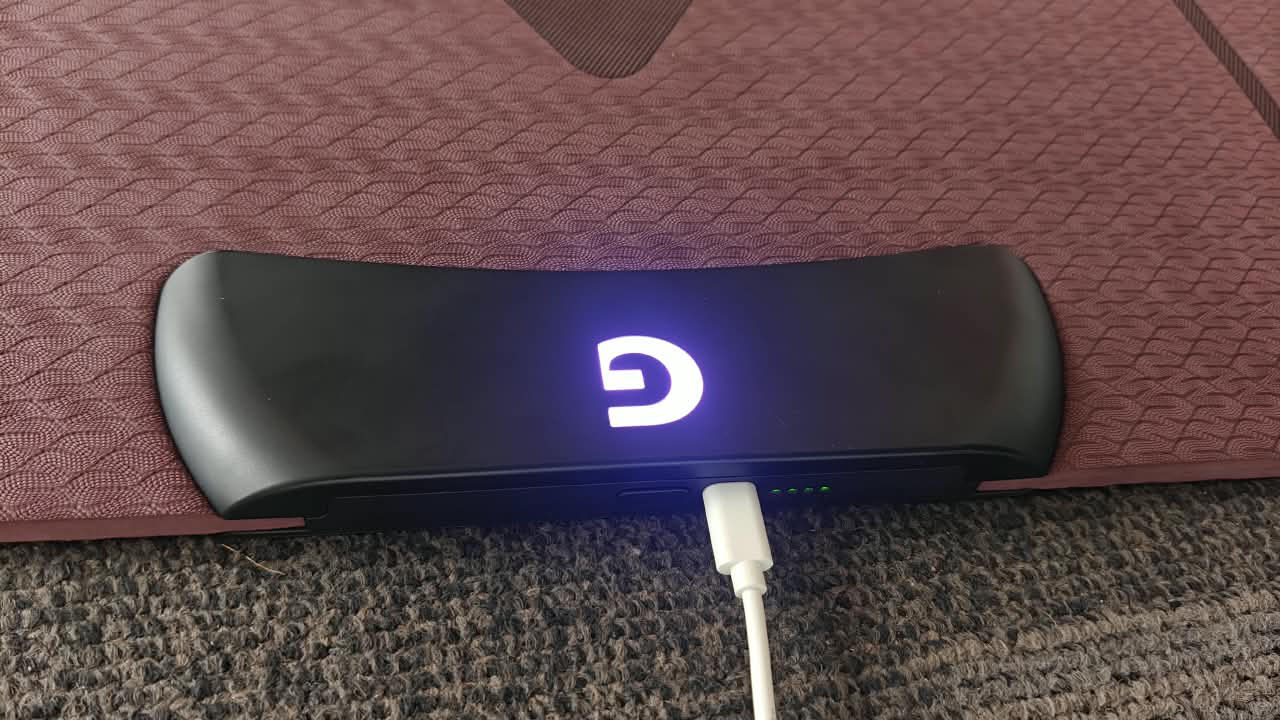
- USB-C charging and connecting port
- Four battery indicator dots
3. Charging your GAMR Play Pad
Connect the Charger
- Take the included USB-C to USB-A cable.
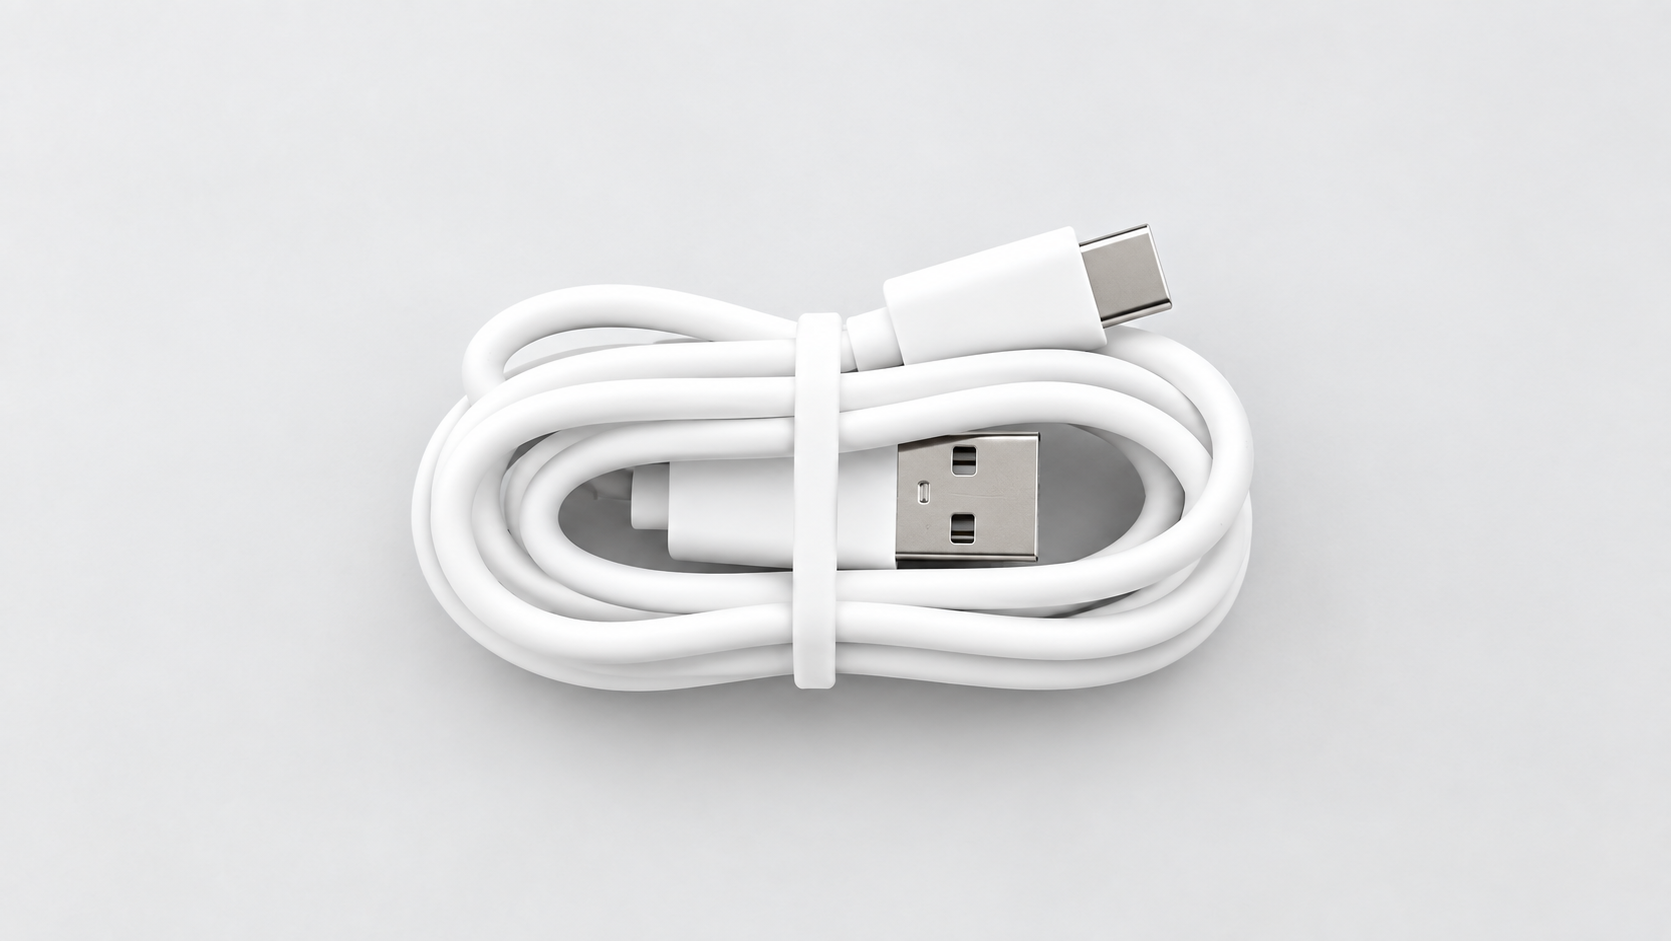
- Connect the USB-C end to your GAMR Play Pad.
- Connect the USB-A end to a power adapter.
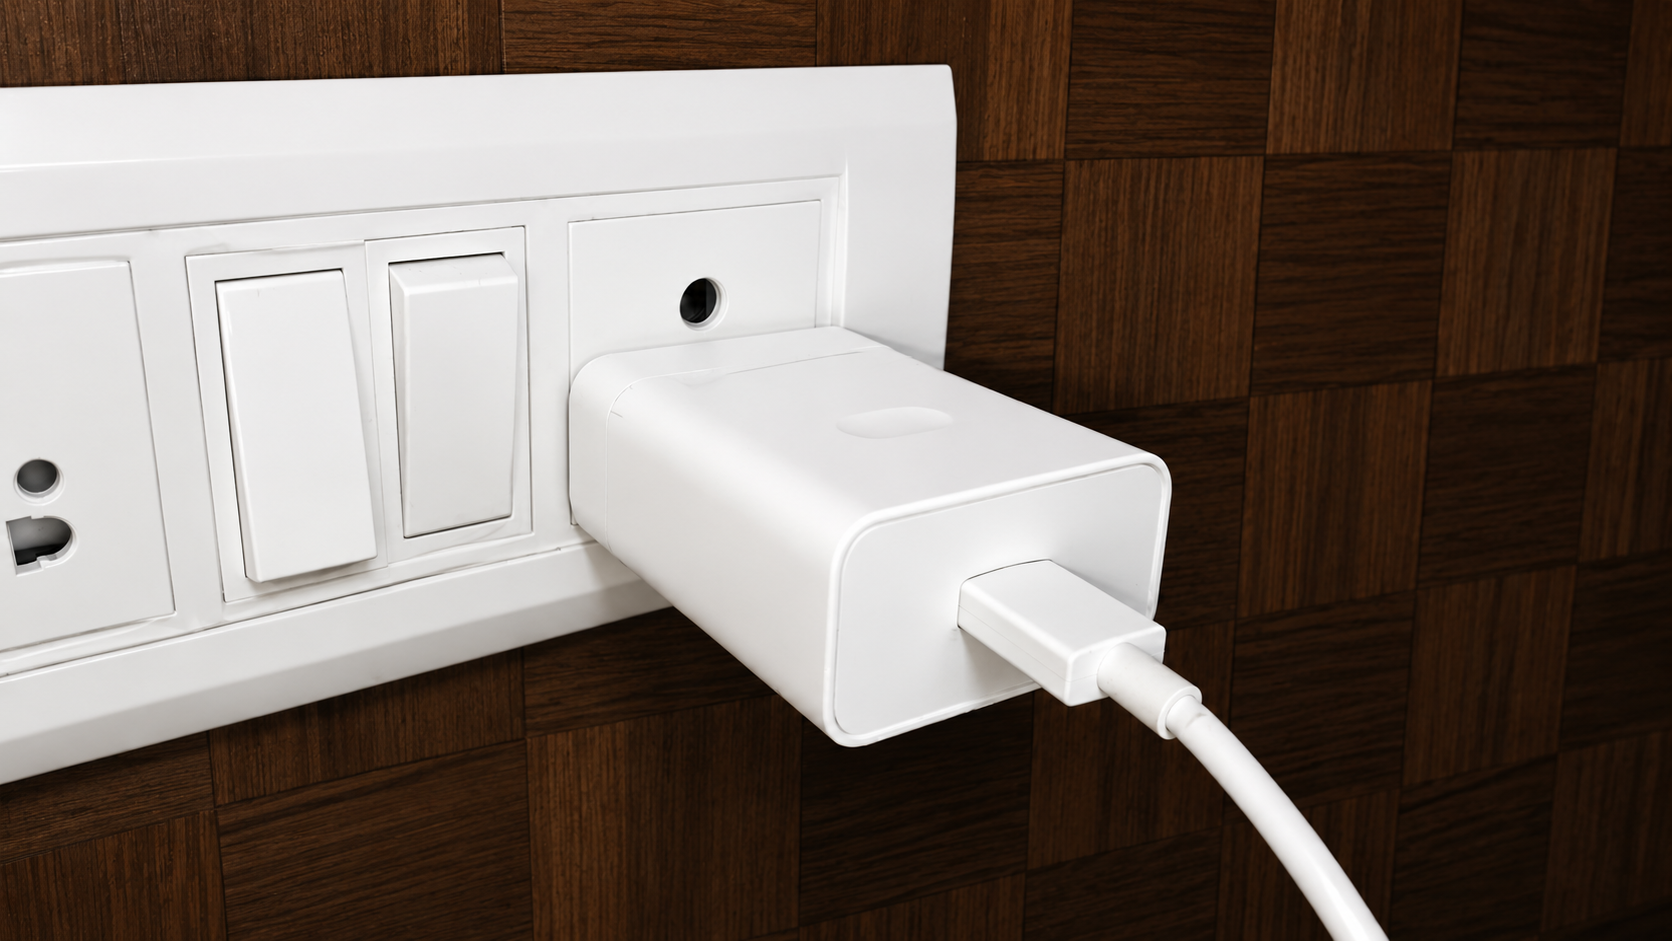
Note: For best charging performance, use a 20W power adapter.
4. What the charging lights mean
- All four dots show your current battery level — the more dots lit, the more charge remaining.
- Blinking dots mean your Play Pad is actively charging.
- With regular use, battery life lasts about 6 to 8 hours.
5. Battery level at a glance
- 1 dot lit — Low battery
- 2 dots lit — Medium battery
- 3 dots lit — High battery
- 4 dots lit — Fully charged
- Blinking dots — Charging in progress
Was this article helpful?
That’s Great!
Thank you for your feedback
Sorry! We couldn't be helpful
Thank you for your feedback
Feedback sent
We appreciate your effort and will try to fix the article